20 Best Free Software and Paid for Subtitle Creation for videos on TikTok, YouTube Shorts, Instagram Reels, Youtube, and much more….
Comprehensive Comparison of 20 of the Best Video Editing Tools
Let us discover the perfect fit to your editing needs. Whether you are a beginner looking for user-friendly and basic options, or a pro editor seeking advanced editing capabilities, there is something here for everyone.
How to Create Subtitles for a Video Using Software
Here are 20 of the Best Software for Video Creation for TikTok, YouTube Shorts, Instagram Reels, Youtube, and much more.
1. Submagic.co

Pros
- Generates captions for videos in under 2 minutes, also automates sound effects and others in a few clicks.
- Time-saver for generating instant captions, keywords highlighting and emojis. It also increases your videos’ reach as it has been proven that subtitles boost viewer engagement.
Cons
- It only allows caption generation for short-form videos.
- It offers less customization features as it focuses on subtitles and captions.
2. Adobe Premiere Pro
Pros
- Fast and effective, and also works with various devices, MacOS or Windows.
- Offers everything you might need for a video editor.
Cons
- Difficult to learn as it’s not beginner friendly.
- Slightly slower than Final Cut Pro when exporting.
3. Final Cut Pro
Pros
- Efficient and offers smooth video editing.
- Stable and produces the highest quality of videos.
Cons
- Some users experienced lagging performance especially with editing and exporting 4k footage.
- There are a lot of third-party plug-ins you need to install if you want a more seamless edit. It is also only available for Apple and Mac users.
4. IMovie
Pros
- Great for beginners, offers ease of use.
- Offers a lot of templates to choose from.
Cons
- Offers limited features.
- Users reported that there is integration for audio, music or YouTube sound addition.
5. Da Vinci Resolve
Pros
- It’s cheaper than other advanced editing software.
- It has advanced color grading tools/ abilities.
Cons
- A bit complex, and not easy for beginners.
- Da Vinci Resolve does not integrate with a lot of third-party plugins.
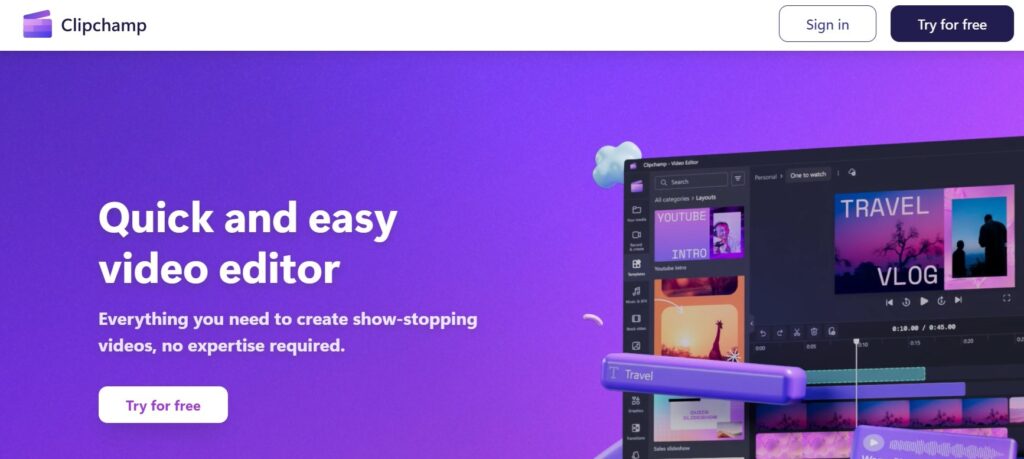
6.Clipchamp
Pros
- Offers easy and simple use with a lot of templates to choose from.
- Offers a free plan.
Cons
- Some users report crashing when downloading the final file.
- It has limited and basic features for editing.
7. Filmora

Pros
- Easy to use, affordable and offers mobile integration.
- There are a lot of templates and presets available to use.
Cons
- Not a professional tool for video editing.
- You need to avail the paid version to remove the watermarks.
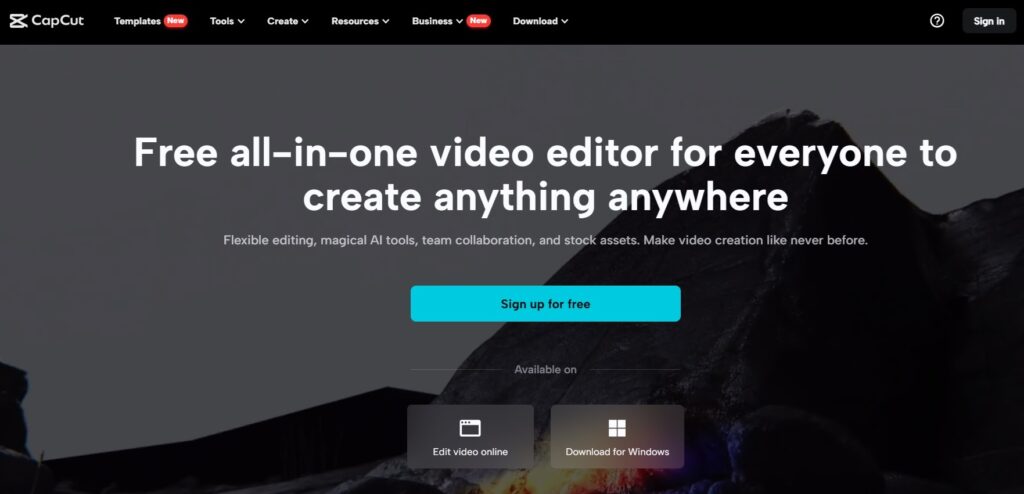
8. CapCut
Pros
- It is free to use, and it allows you to edit long form videos.
- User and mobile friendly, provides ease to beginners and also provides ease in sharing to social media platforms.
Cons
- The CapCut app cannot be used in a landscape mode.
- Users report frequent updates and glitches with the app.
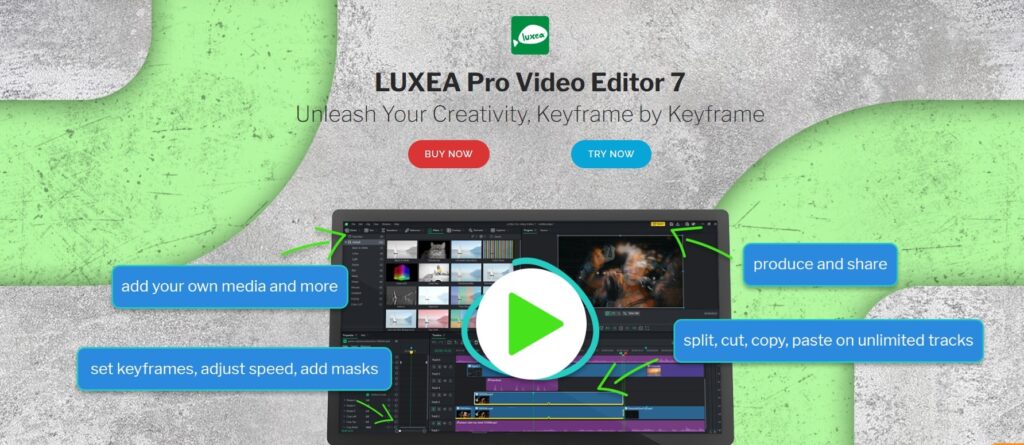
9. Luxea Pro
Pros
- Produces 4k, high-quality videos.
- Offers a video recorder, audio editing and other advanced features.
Cons
- It offers advanced features that require time to learn.
- Some graphics and effects are not that great.
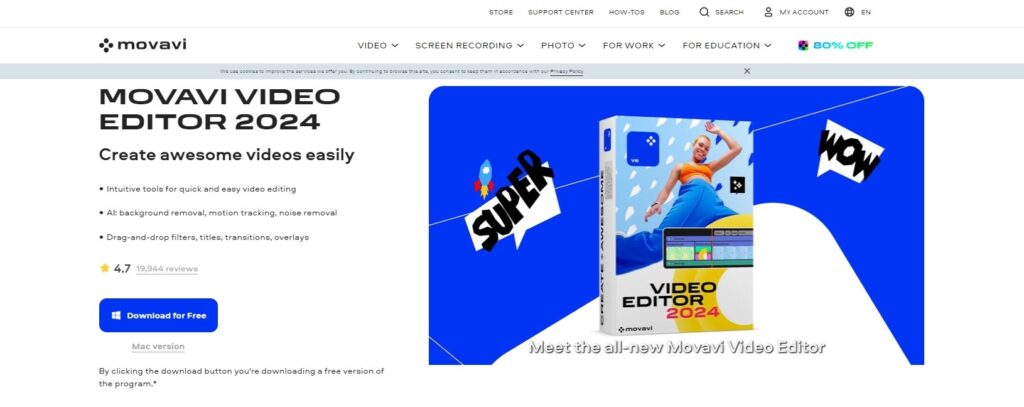
10. Movavi
Pros
- Offers affordable pricing.
- Provides mobile friendly use.
Cons
- A premium subscription is needed to remove watermarks.
- There are limitations on some advanced features.
11. VN Video Editor
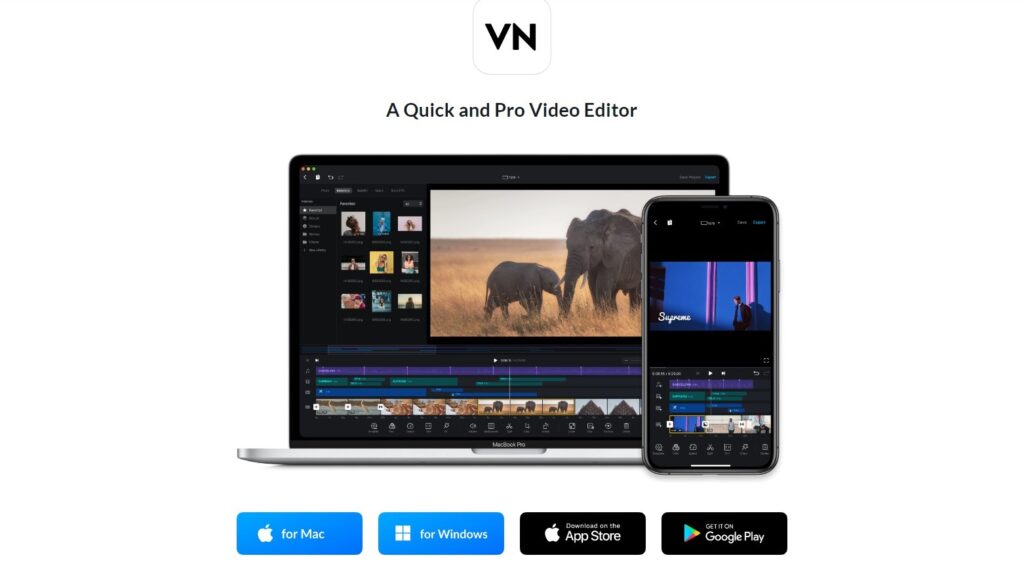
Pros
- It offers extensive features on a mobile device.
- It is easy to use and offers a variety of features.
Cons
- A premium subscription is needed to remove the watermarks when exporting video.
- Suitable for basic video editing and designed for mobile devices.
12. Kinemaster
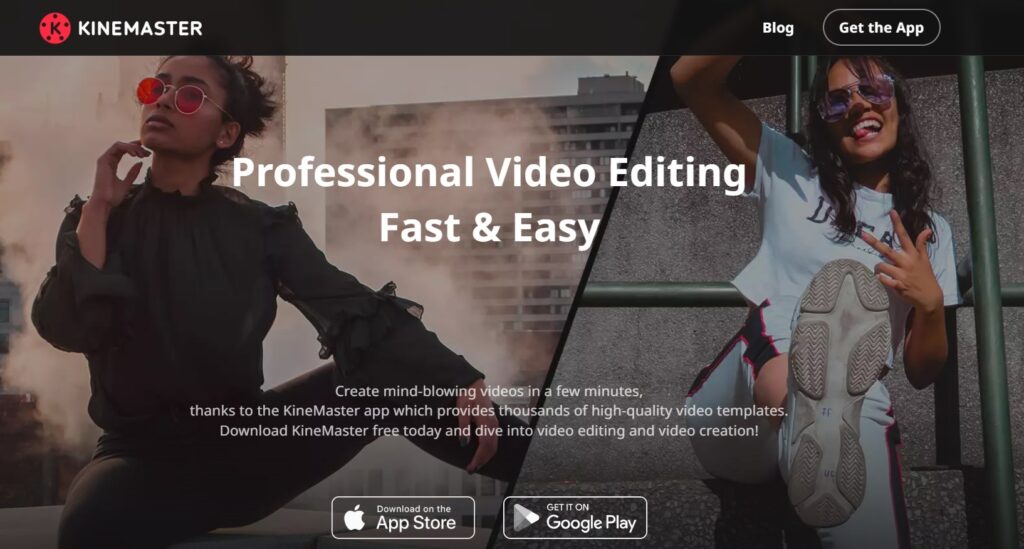
Pros
- Easy to use and beginner friendly.
- Offers a wide range of features and effects.
Cons
- A premium/paid subscription is needed to remove watermarks, and there are advertisements in the free version.
- There are limitations when you use mobile for editing.
13. Lumen5
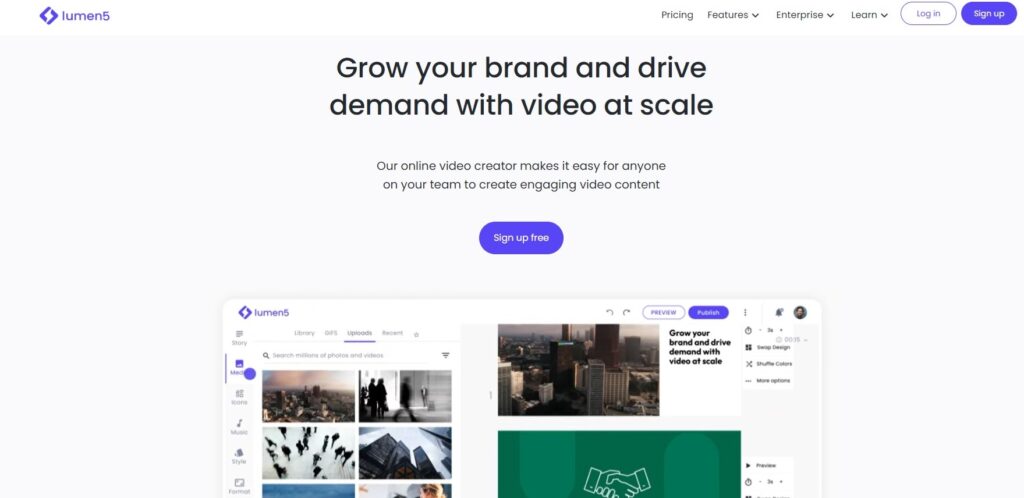
Pros
- It offers AI-powered content creation.
- Easily create videos in a few clicks.
Cons
- The free version has limitations, and it is not for complex video editing.
- More focused on automation than customization.
14. InShot
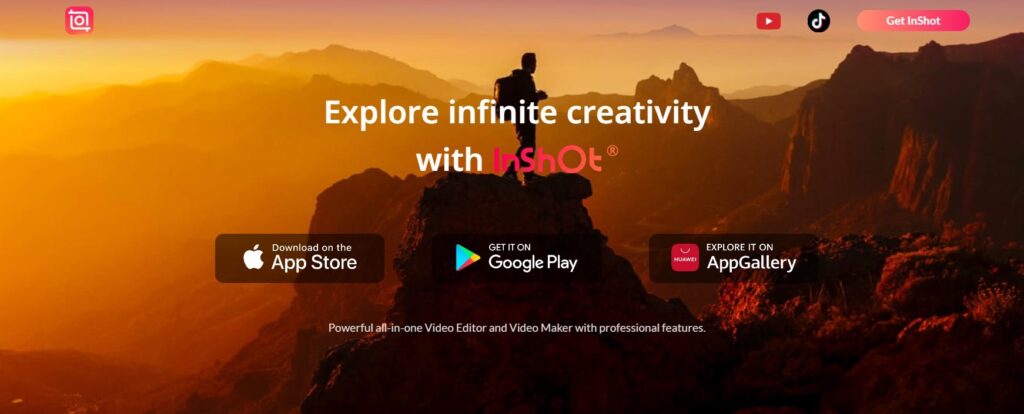
Pros
- You can edit videos and play with its features easily.
- User-friendly and easy to share to social media pages.
Cons
- It is not a complex video editor compared to other web video editing software.
- A premium version is needed to get more features and remove the watermark.
15. Shotcut
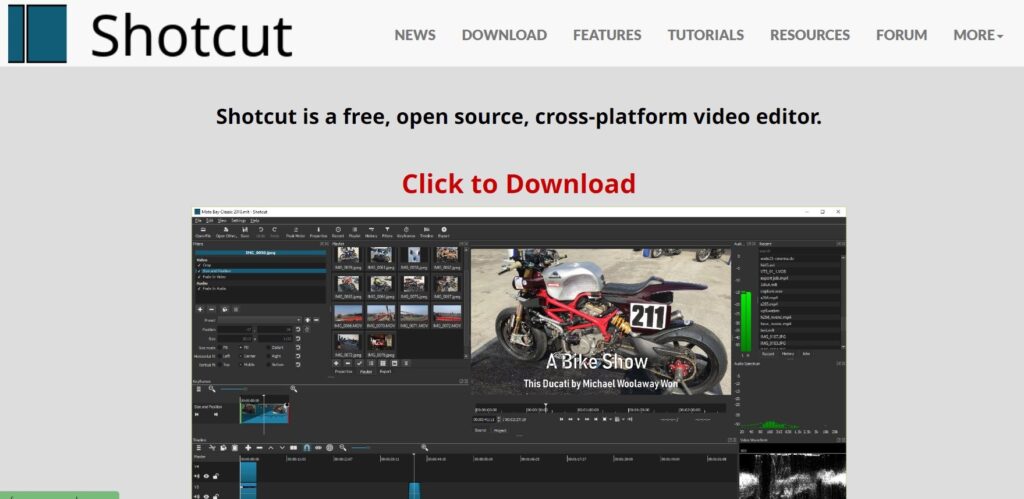
Pros
- It is free to use and available in Mac, Windows and other operating systems.
- It offers advanced editing features.
Cons
- Beginners might find it difficult to use.
- Some users reported that it crashes and has stability issues.
16. HitFilm
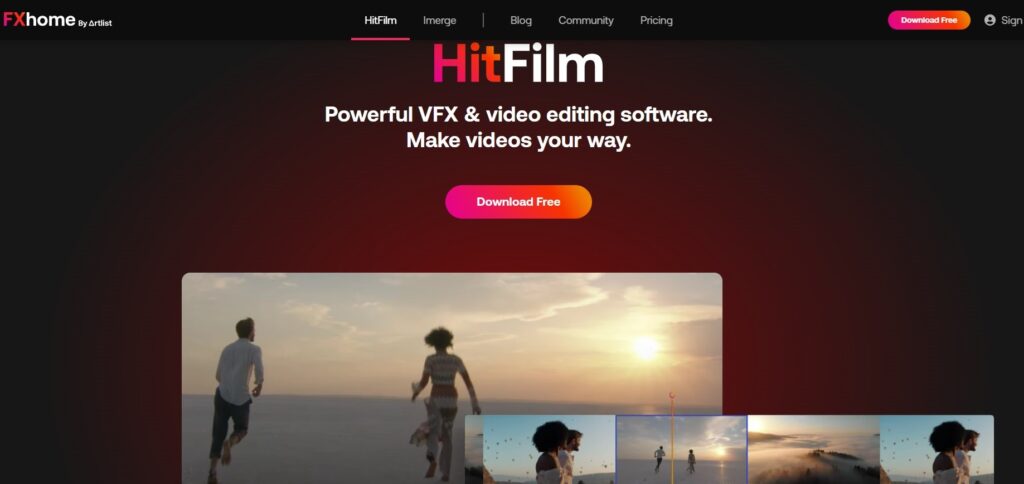
Pros
- A budget-friendly editor that offers advanced and comprehensive video editing.
- It offers a wide-range of built in effects and transitions.
Cons
- The add-ons are not free.
- Beginners might find it difficult to use due to advanced features.
17. Vimeo Create

Pros
- Offers a lot of options and templates for customization.
- Easy to navigate and accessible for beginners.
Cons
- The free version has limitations in terms of video quality, and other premium templates.
- Not for complex and more advanced video editing.
18. Active Presenter
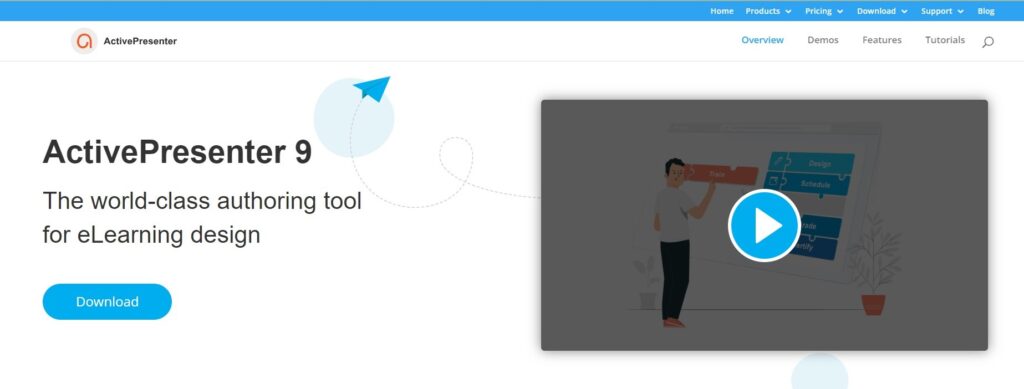
Pros
- Offers ease-of-use and has an interface that is quite similar to PowerPoint.
- It has a high-quality screen recorder making it an ideal choice for presenters.
Cons
- It is not an advanced video editor compared to other web video editing software.
- It has a steeper learning curve.
19. Lightworks
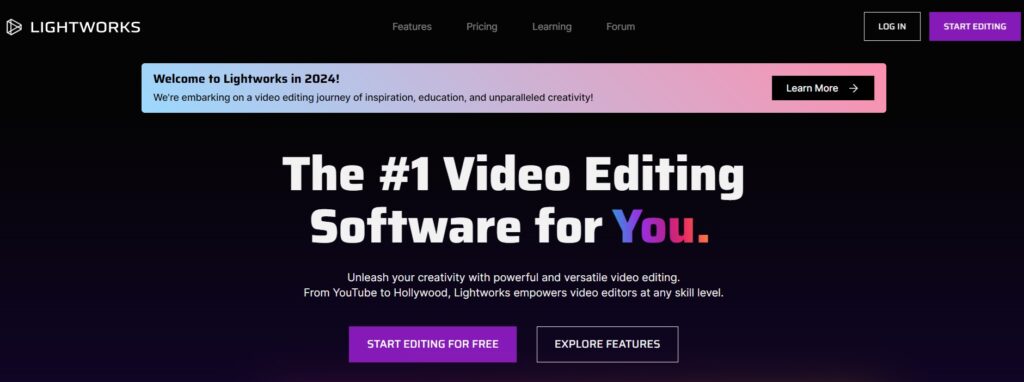
Pros
- It provides great customization for editing.
- It is available on Windows, MacOS and other operating systems.
Cons
- It is complex and beginner’s need time to master its features.
- A paid plan is needed to access its full features.
20. WeVideo
Pros
- Cloud-based video editing which enables collaborative editing and sharing.
- Offers ease-of-use for beginners.
Cons
- Because it is a cloud-based program, it is dependent on the Internet.
- A subscription is needed to access a wider range of features and effects.
How to Create Subtitles for a Video Using Notepad
Another example to create easy subtitles for your videos is using a manual and simple text editor like Notepad.
To use it, open “Notepad” on your computer, type “1” and click ENTER.
Now, input the timeframe for when the subtitle is to be shown/displayed.
Use hours:minutes:seconds,milliseconds format (00:00:00,000), from start until the end by repeating the same process. Then click ‘File’ and ‘Save As’ and put ‘(name of your video).srt’ for the subtitle format and click save.
You can now open your video with subtitles by opening it with VLC to check if it works!
Make sure that the text is clear and accurate in relation to your video.
How to Create Subtitles for a Video Automatically
If you are looking to save time and effort in creating your subtitles, there are powerful tools available. One example is Submagic.co which can help you generate your subtitles within seconds. It is powered by AI so it is an advanced tool to create auto descriptions to make your content more captivating.
You can also check YouTube’s automatic captioning feature Amara’s automatic transcription and Happy Scribe.
Tips for Creating Effective Subtitles for Videos
In movies and popular streaming sites, subtitles are placed under the video so that it won’t block important visuals. You should also keep in mind to select a font style, color and size that suits best for the video you have. It shouldn’t be distracting or too flashy as it may overwhelm the viewers. Subtitles should be made to complement and aim for efficient video-viewing.
How to Create Subtitles for YouTube Videos
Here are the guidelines for creating subtitles for your Youtube videos:
- Access YouTube’s Creator Studio: Log in to your YouTube account and navigate to the Creator Studio dashboard.
- Select Your Video: Choose the video for which you want to add subtitles from the “Video Manager” or “Content” section.
- Navigate to Subtitles/CC: Click on the “Subtitles/CC” tab, located in the menu on the left-hand side of the screen.
- Add Subtitles: Click on the “Add new subtitles or CC” button and select your video’s primary language.
- Create Subtitles: Enter the subtitles manually or upload a pre-existing subtitle file (e.g., .srt format). You can also use YouTube’s automatic captioning feature and edit the generated captions for accuracy.
Review and edit your subtitles to ensure accurate timestamps, grammar and formatting. Also to improve your SEO and engagement, make sure that you are using relevant keywords to your subtitles.
How to Create Subtitles for Video on Mac
There are also unique features in using Mac for creating subtitles. It has an advanced editing tool that uses precise adjustments and other options.
Here’s how to use iMovie for Subtitle Creation on Mac:
Step 1: Launch iMovie
- Open iMovie from your Applications folder or by searching for it in Spotlight.
Step 2: Import Your Video
- Click on “File” in the menu bar and select “Import Media” to import the video you want to add subtitles to.
Step 3: Create a New Project
- Click on “File” and select “New Project” to create a new project.
- Choose the appropriate settings for your project, such as aspect ratio and resolution.
Step 4: Add Your Video to the Timeline
- Drag and drop your imported video from the Media Library into the timeline at the bottom of the iMovie interface.
Step 5: Enable Subtitles
- Click on the “Titles” button above the viewer.
- Choose the “Basic” category and select the style of subtitle you want to use.
Step 6: Customize Subtitles
- Drag the selected subtitle style onto the timeline above the video clip where you want to add subtitles.
- Double-click on the subtitle in the timeline to edit the text.
- Adjust the duration and position of the subtitle by dragging the ends of the subtitle clip in the timeline.
Step 7: Preview and Fine-tune
- Play back your video to preview the subtitles.
- Make any necessary adjustments to the timing, position, or text of the subtitles.
Step 8: Export Your Video with Subtitles
- Once you’re satisfied with the subtitles, click on “File” and select “Share” to export your video.
- Choose the desired export settings and click “Next” to export your video with subtitles.
You may check online discussions, forums or contact the customer support if you are experiencing issues or to help you better understand and use the software.
How to Create Subtitles for Video on Android
Subtitle creation is also achievable using your Android device and mobile phone. There are various video editing apps like Kinemaster or Youtube Studio. These are free and offer a wide-range of editing options. However, also keep in mind that there are limitations in functionality and editing performance depending on file size. You also should consider having a smaller screen size when you are using a mobile device. But, leveraging on this remains an accessible and easy method for generating subtitles and video editing.
How to Create Subtitles for Video Free
Using VLC Media Player, Google Docs or online subtitle generators is also very helpful and recommended but it has its limitations. VLC Media Player provides a straightforward and basic approach to subtitle generation, while Google Docs can transcribe your videos automatically. These free tools may be limited and may not offer extensive features, however, you can still maximize its use and value by considering combining several free tools and leveraging online resources for tips and tricks.
How to Create Subtitles for Video Transcription
There are benefits of transcription to creating accurate subtitles. It helps you reach a wider audience, enhance discoverability and helps to improve your SEO efforts.
Considering your budget is also important in selecting the transcription tool to use. So whether you opt for a manual or automated tool, it is essential to still review the accuracy and consistency in your content.
Sample Process of Transcribing Videos:
- Manual Transcription:
Step 1: Play the video and listen carefully to transcribe spoken dialogue verbatim.
Step 2: Type the transcribed text into a word processor or text editor, pausing or rewinding the video as needed.
Step 3: Review and edit the transcription for accuracy, clarity, and formatting consistency.
- Automated Transcription Services:
Step 1: Upload the video file to an automated transcription service like Sonix or Trint.
Step 2: The service uses speech recognition technology to transcribe the audio into text.
Step 3: Review the automated transcription for accuracy and make necessary edits.
Step 4: Download the finalized transcription for use in subtitle creation.
How to Create Subtitles for Video Localization and Translation
Discuss the importance of localizing and translating subtitles for international audiences. Provide tips on how to create subtitles in different languages and tools that assist in translation.
Incorporating multiple translations into your videos in various languages is important to reaching a wider audience. Being able to do that not only enhances your engagement, but it also showcases the creator’s dedication to demonstrate inclusivity and accessibility to multicultural audiences.
There are a lot of tools to help with translation, for instance, Google Translate which is free, readily available online and has 133 languages available. Alternatively, you can also use Microsoft translator or get help and engage with native speakers as this ensures more accurate and culturally relevant translations.
Best Practices for Subtitle Editing and Formatting
Implementing practices for subtitle editing and formatting ensures accuracy, quality and clarity which aims to improve user experience and gain engagement to your videos.
It is best to consider these tips:
Proofreading for Accuracy: Check for minor and major errors by thoroughly proofreading and reviewing your videos and subtitles. It should have the proper punctuation, spelling, and grammar.
Adjusting Timing of Subtitles: This aims to have the accuracy of the subtitles as it enhances viewer experience.
Ensure Readability: Adjusting the font size, colors and design to optimize readability and ensure that it suits all screen sizes and devices.
In conclusion, effective video editing and subtitle generation is essential to optimize your content, gain engagement and improve the user experience. And as trends are constantly emerging and changing, being able to leverage on different free and paid tools can provide creators the flexibility, seamless editing and options to elevate the quality of their subtitles and videos. It is also advisable to keep in mind that each tool has its own unique features, and we hope this guide can help you to choose the one that would work best for you and suits your specific needs.
Other things to consider when creating
- What should you take into account on which video editing software to use?
You need to consider the type of video you need to edit, will it be for entertainment or for professional need. Also your desired features, learning curve associated with the tool and your budget. - Which video creation software is most suitable for beginners?
There are software that are easy & simple to use and beginner-friendly like Submagic.co, Imovie and Kinemaster. - What do you mean by a cloud-based video editing program?
Cloud-based program means it is dependent on the Internet. It is stored and processed in the cloud, and users can only edit and save the project when there is an Internet connection. - Are tutorials or guides available for users getting started?
Most video editing softwares have tutorials available online. You can check the specific website for up to date information, or in resources like Google or Youtube.
Why Should You Create Subtitles for Your Videos?
Adding captions or subtitles to your videos can help you boost accessibility and also increase the engagement within your viewers in a big way.
For example, people with hearing disability will be able to understand and enjoy the video better when there are captions. This helps them tune in and connect with your content.
Another reason is it will help with your SEO, search engines love text, so when you put texts/subtitles within your videos, the algorithm reads it. You are boosting your chances of being discovered by a wider audience, making it accessible and pushing your content to the top of search results.
Short form videos are also becoming more and more engaging. In today’s fast paced world, being able to retain the attention of people is the key. And adding captions will keep the viewers hooked with your short-form videos, and will help with your engagement better.
About Us
Our team of content creators is committed to making your life easier by providing guides, helping you with ideas, curation, and themes. We understand your goals in making engaging and relevant contents to your audience and in taking your ideas and social media strategy to the next level.